This document contains instructions on how to install VoipNow in Amazon cloud using the AMI (Amazon Machine Image).
Requirements
In order to use VoipNow in Amazon Cloud, you need to have an account at http://aws.amazon.com.
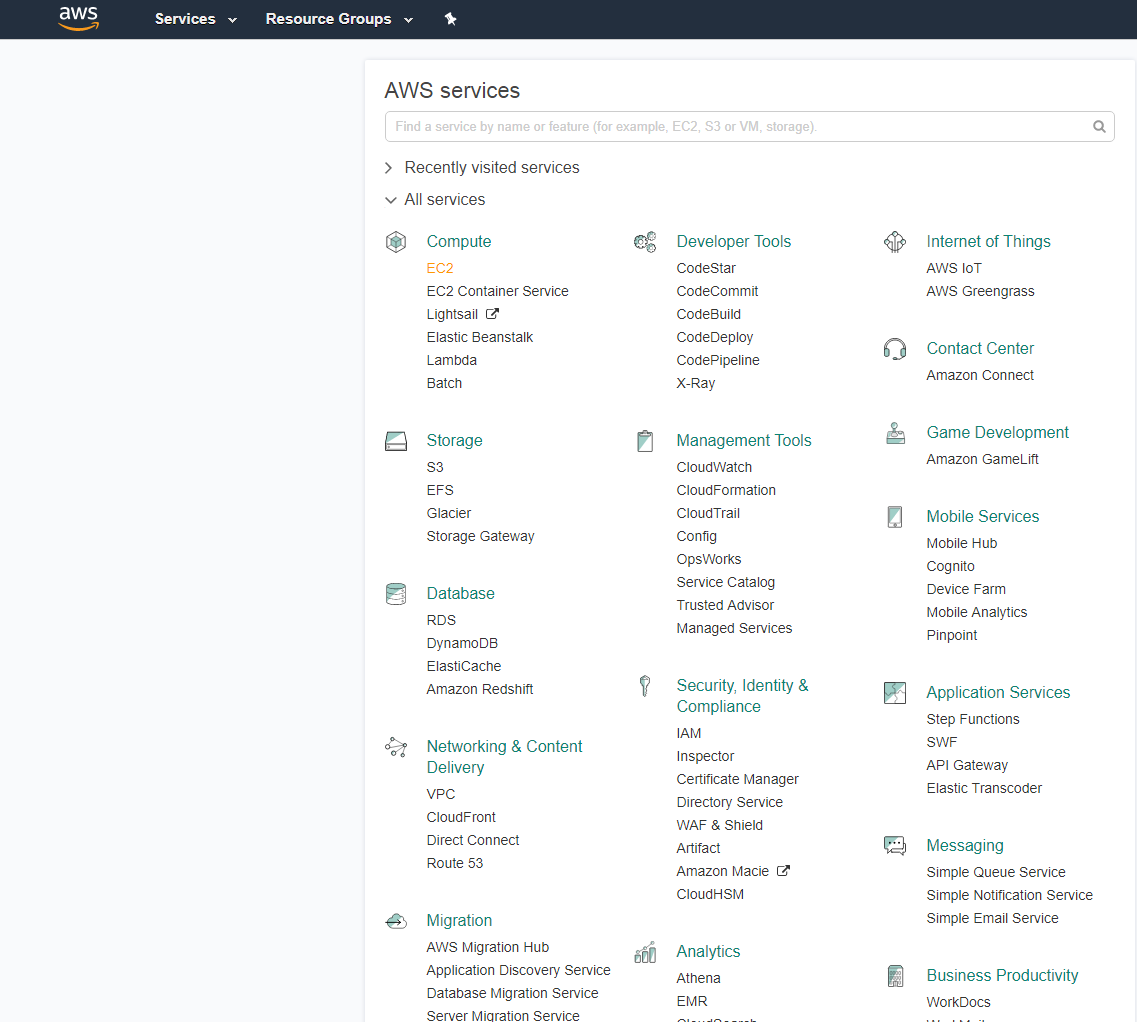
Once you've created your account, go to http://console.aws.amazon.com/ and select the EC2 section.
Installation steps
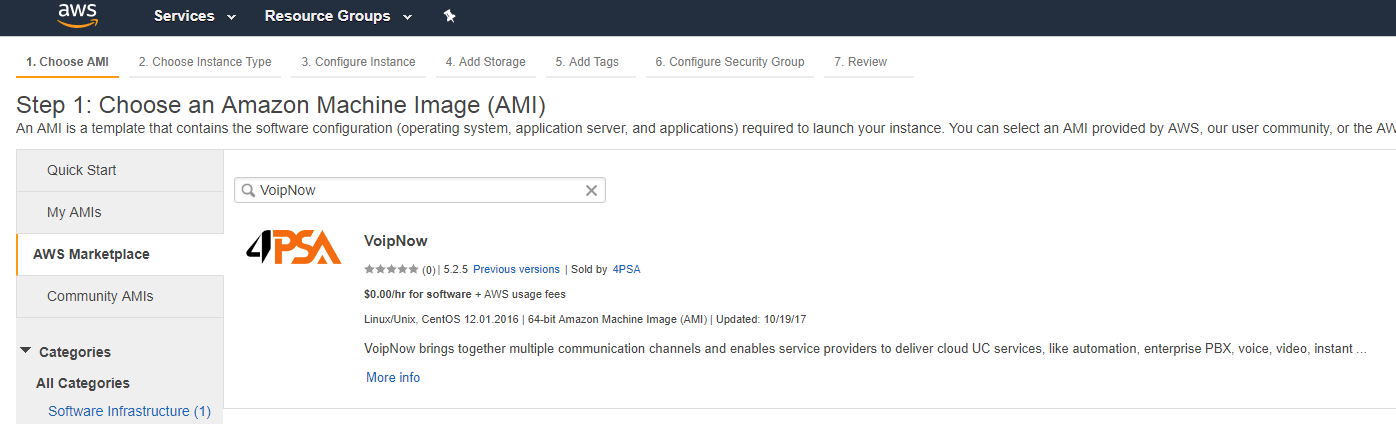
Find image in AWS Marketplace
Click Launch Instance, then search for VoipNow in the AWS Marketplace page.
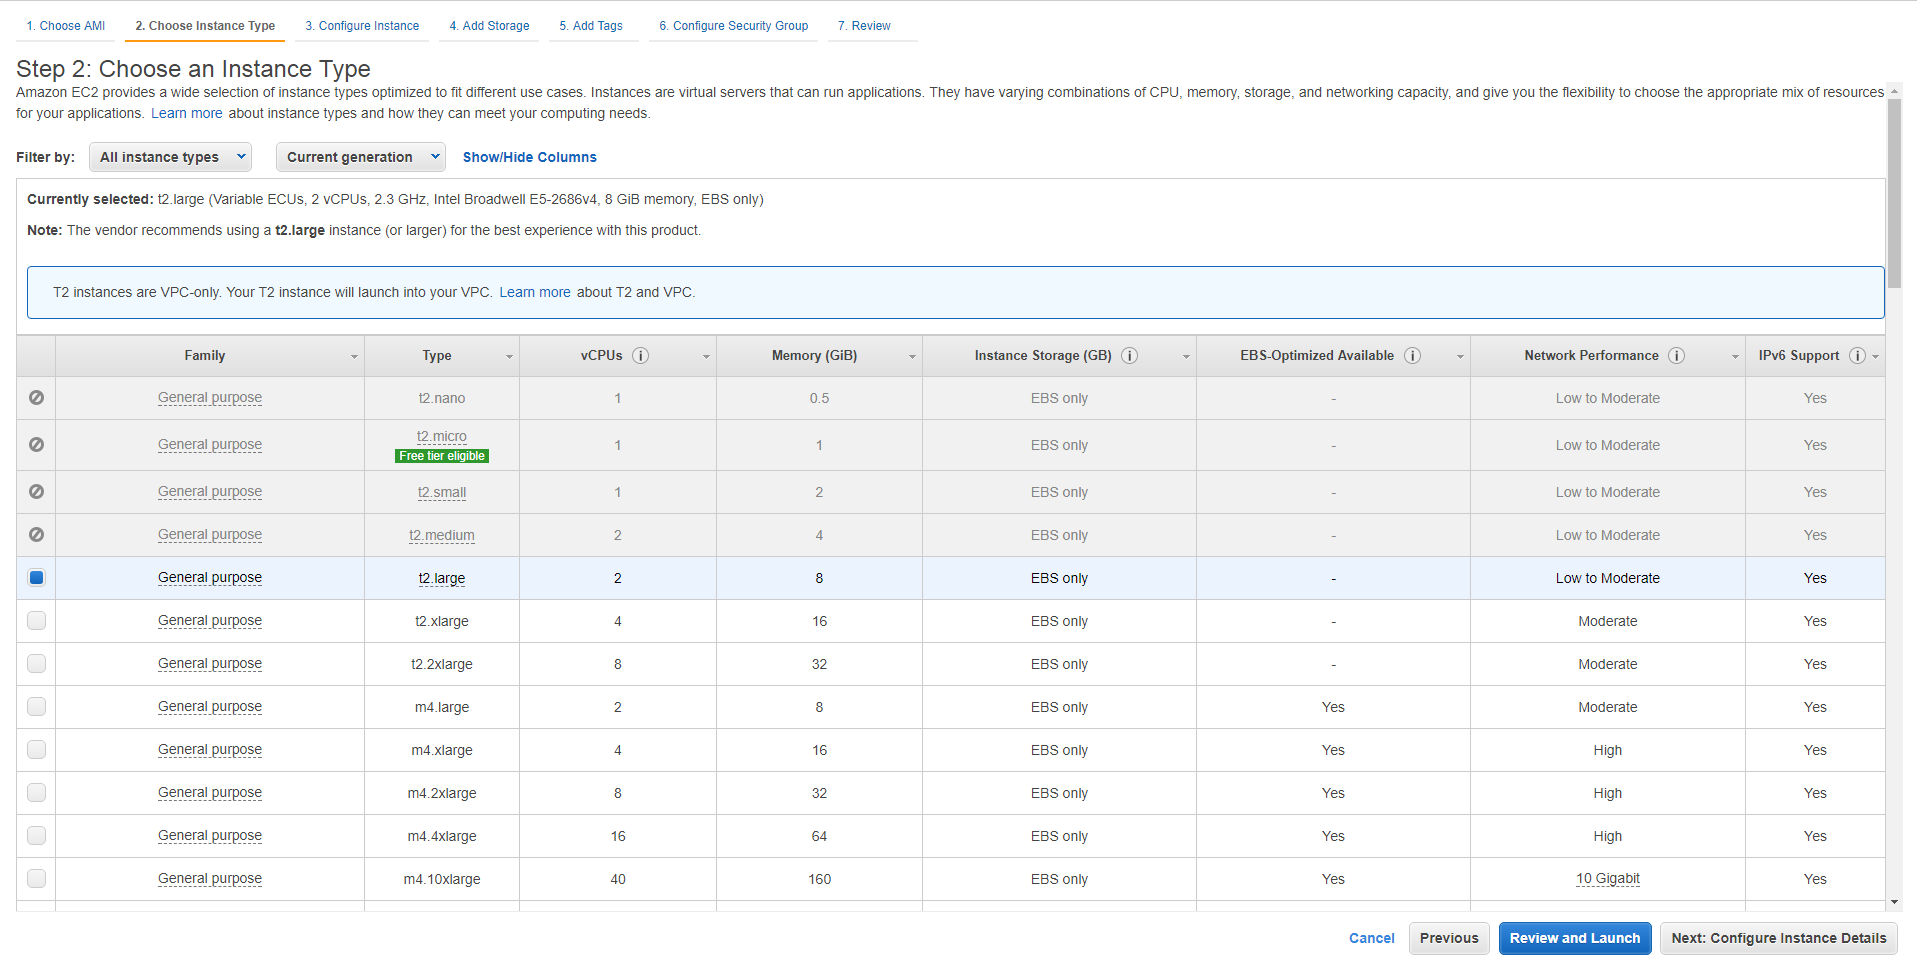
Create EC2 Instance
Select VoipNow and press Continue. Then open the Choose Instance Type tab and click on Review and Launch.
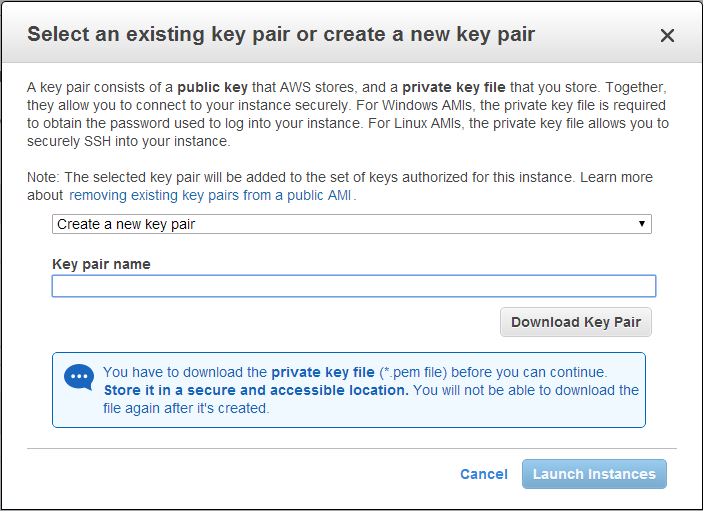
In the page that opens, select Create a new key pair and define a Key pair name. Then download it and click on Launch Instances.
You can Choose an existing key pair if you have already defined one.
The instance should boot and, once it is running, you should be able to access it.
Set the web interface password
We don't set any default passwords. So, you must set a password via SSH that will allow you to log in the VoipNow web interface.
To log in using SSH, run the following command:
root privileges, run the following command:root:Access the VoipNow web interface
You can access the web interface at https://<serverip>
Log in to the interface using the following details:
Username : admin
Password : <what you set earlier>
 Except where otherwise noted, content in this space is licensed under a Creative Commons Attribution 4.0 International.