| Excerpt |
|---|
This document describes the VoipNow installation in Amazon cloud using the AMI (Amazon Machine Image). |
| Table of Contents | ||
|---|---|---|
|
| 4psafasttrack | ||
|---|---|---|
| ||
| There is always the option to You may always provision an EC2 instance with one of the supported operating systems and then use the Command Line Installer to install VoipNow. Check AWS Amazon Market ( https://aws.amazon.com/marketplace/ ) place for the latest CentOS 7 EC2. |
Requirements
In order to use VoipNow in Amazon Cloud, you need to have an account at http://aws.amazon.com.
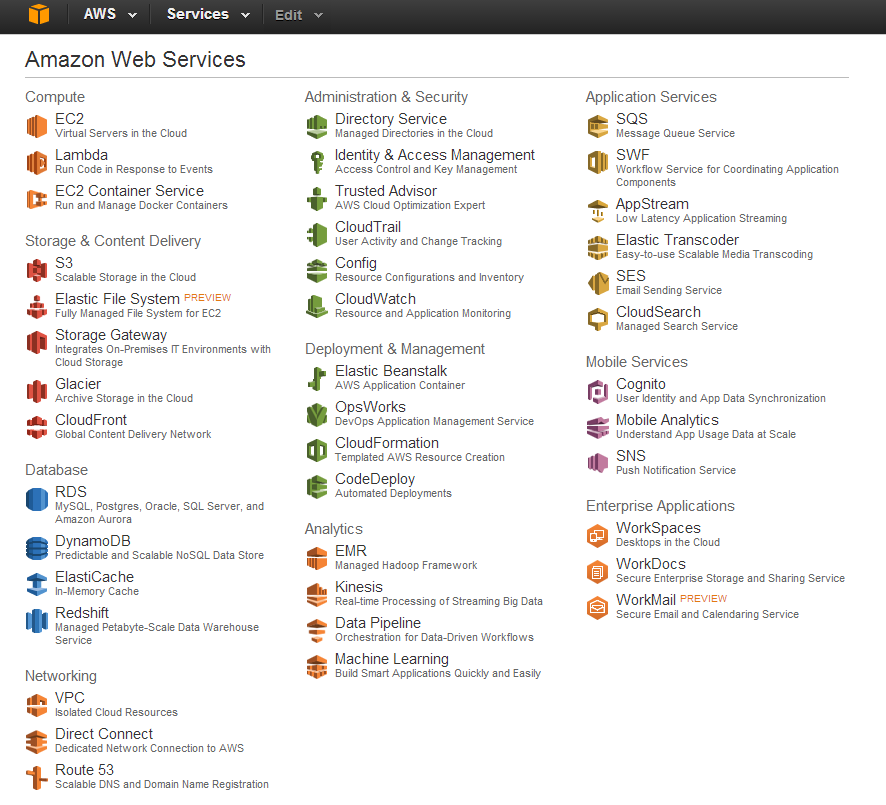
Currently, we only have instances in EU Ireland and US North Virginia. Once the account is created, go to http://console.aws.amazon.com/ and select the EC2 section.
| Warning | ||
|---|---|---|
| ||
Do not forget to check the last step of the documentation on how to change the root password. |
Installation steps
Click Launch Instance, then in . In the Community AMIs page type 4psa. Look for AMI ID with number ami-ba4e41d2 and click Select.
For EU Ireland look for AMI ID with number ami-956807e2.
, type the corresponding AMI ID, based on the Region where you want to store your instance.
| Region | AMI ID |
|---|---|
| N. Virginia | ami-a17483ca |
| Ireland | ami-87621bf0 |
Below is an example for N. Virginia.
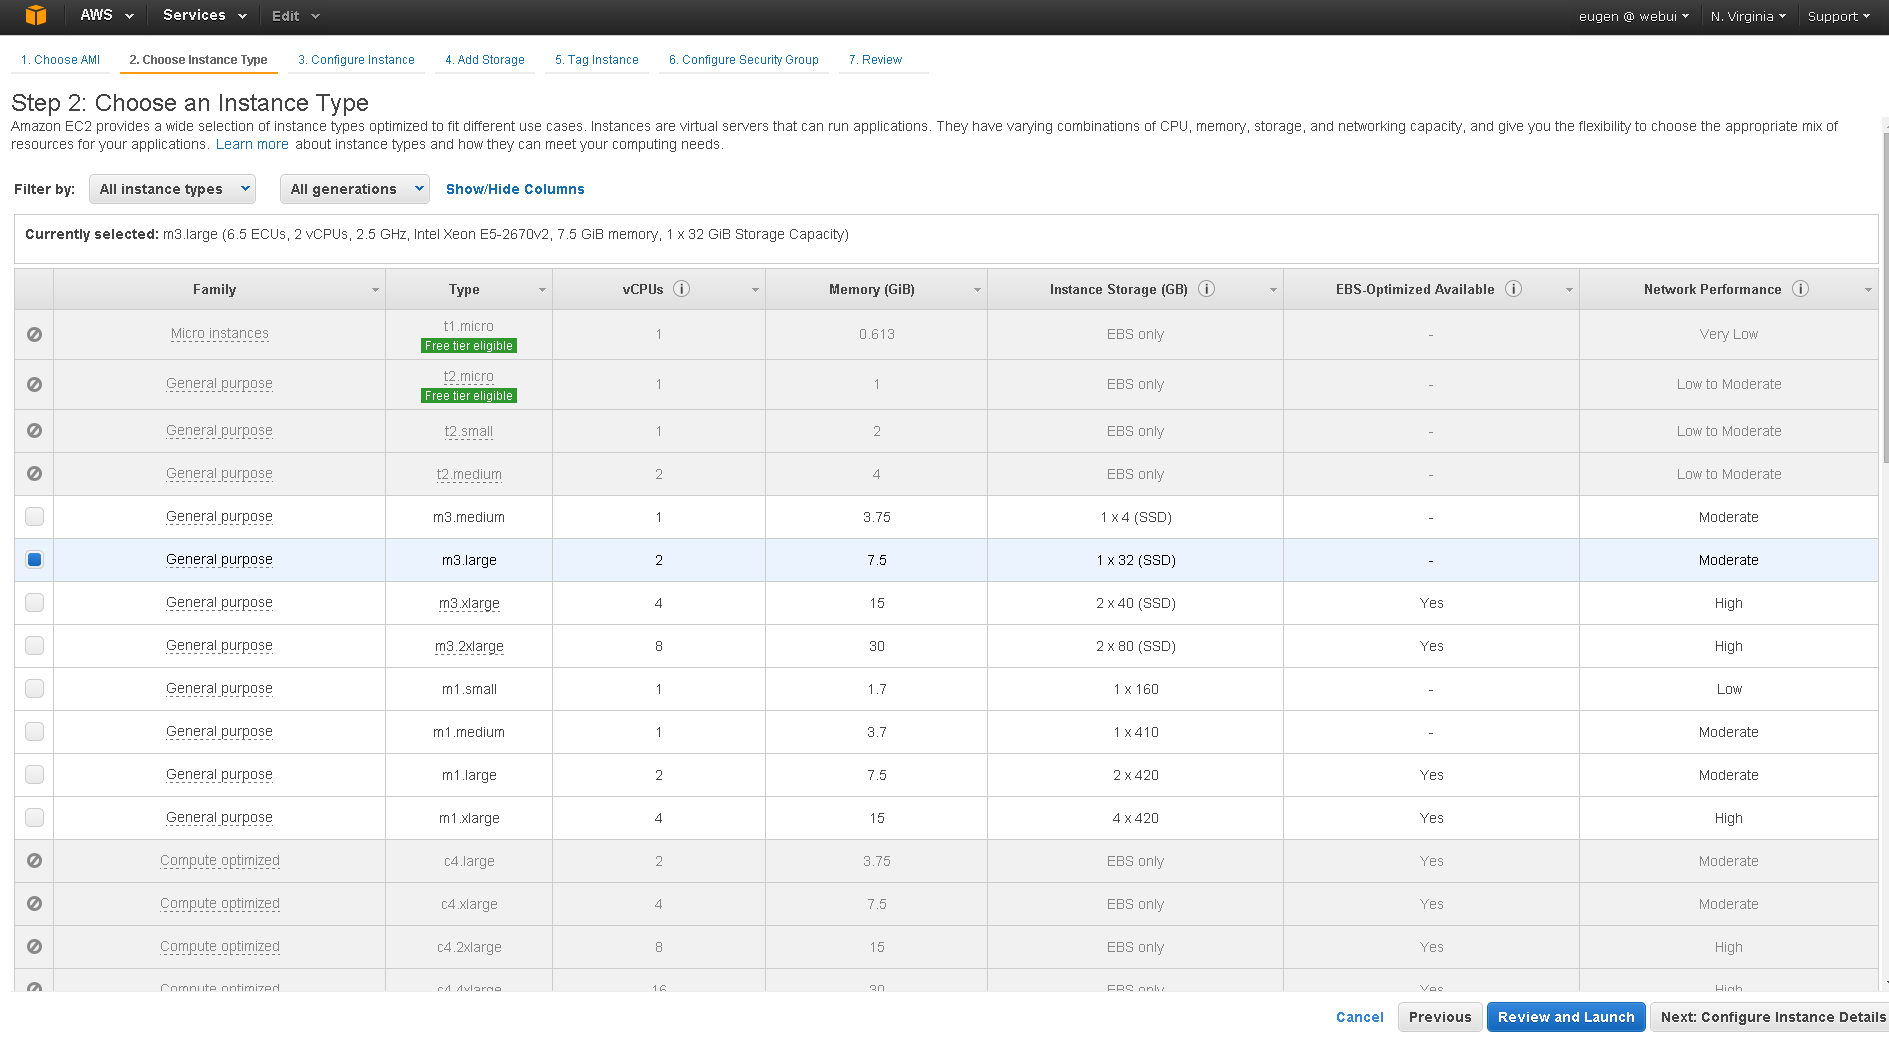
Select the instance type as m3.large and click on Next: Configure instance Instance Details.
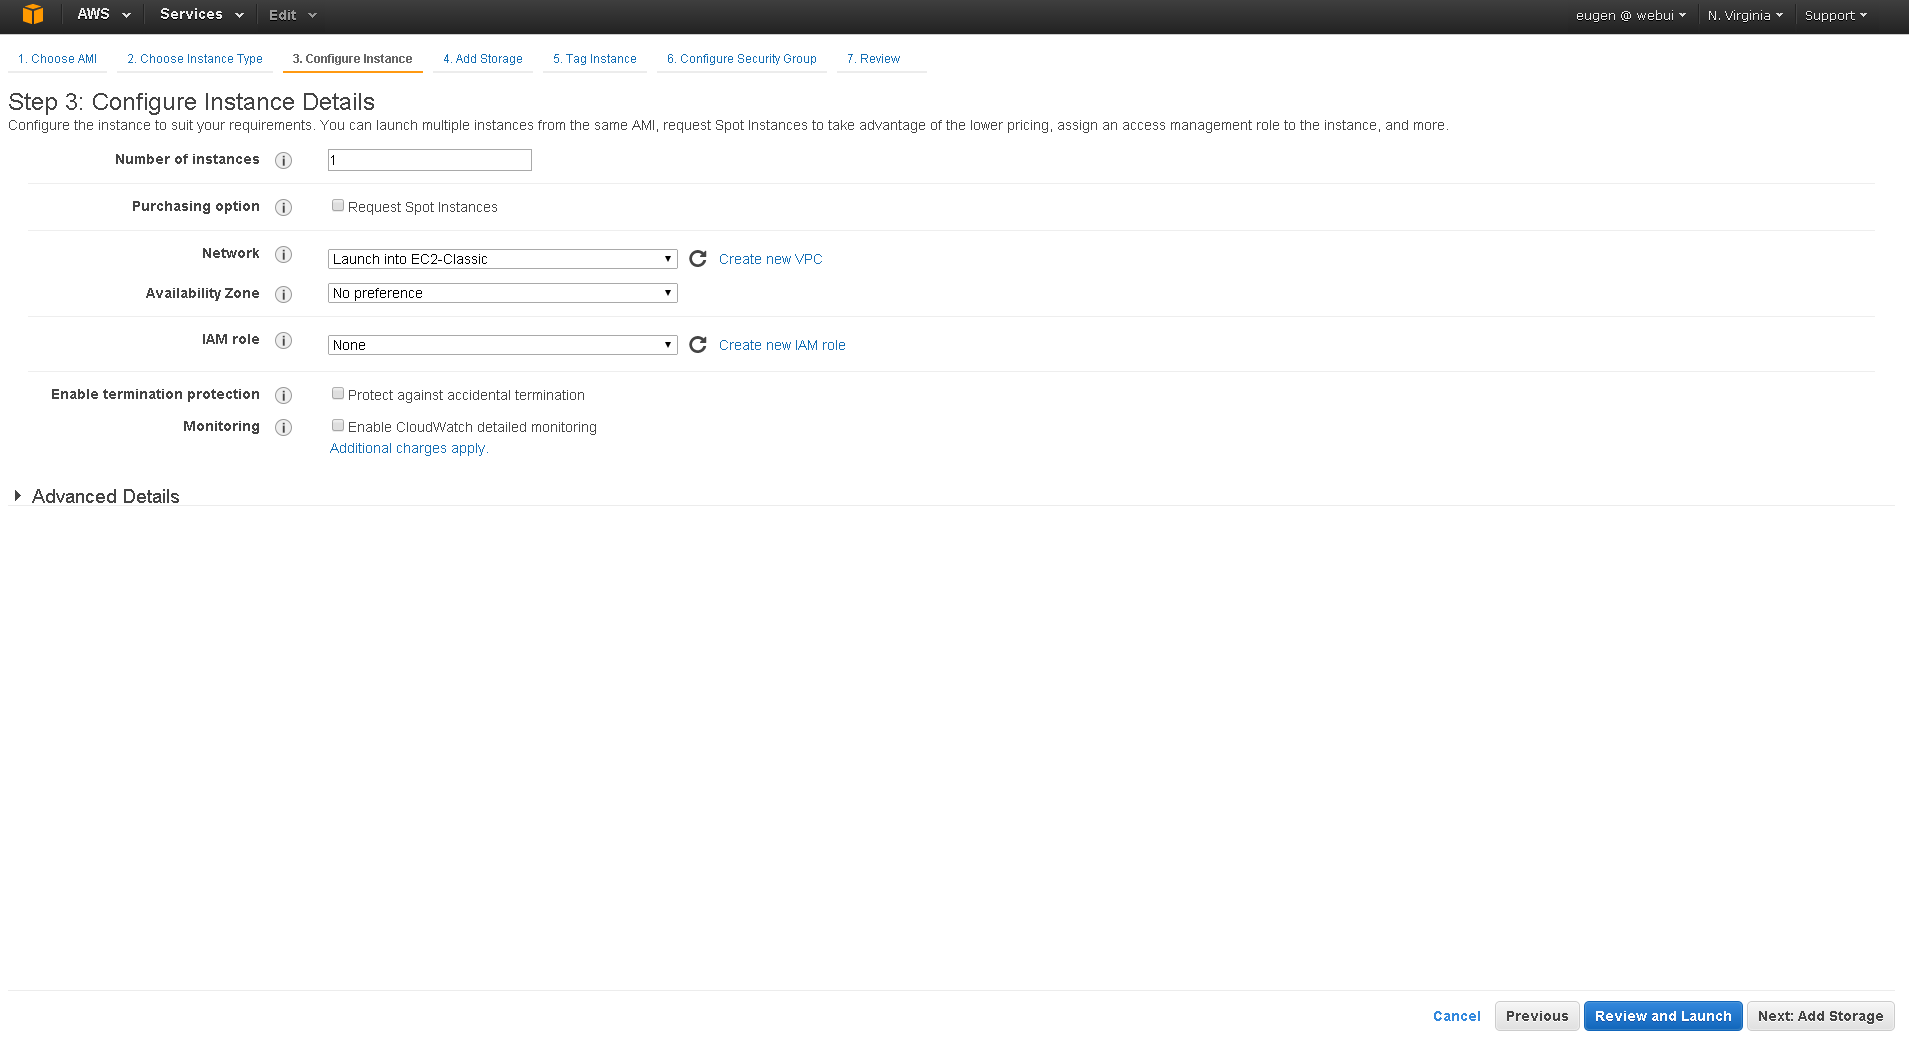
Unless you're using a VPC, leave the instance in the EC2-Classic network, then click Add Next: Add Storage.
By default, AMI has 20GB30GB. If you need more storage, you can add another volume. Then go to
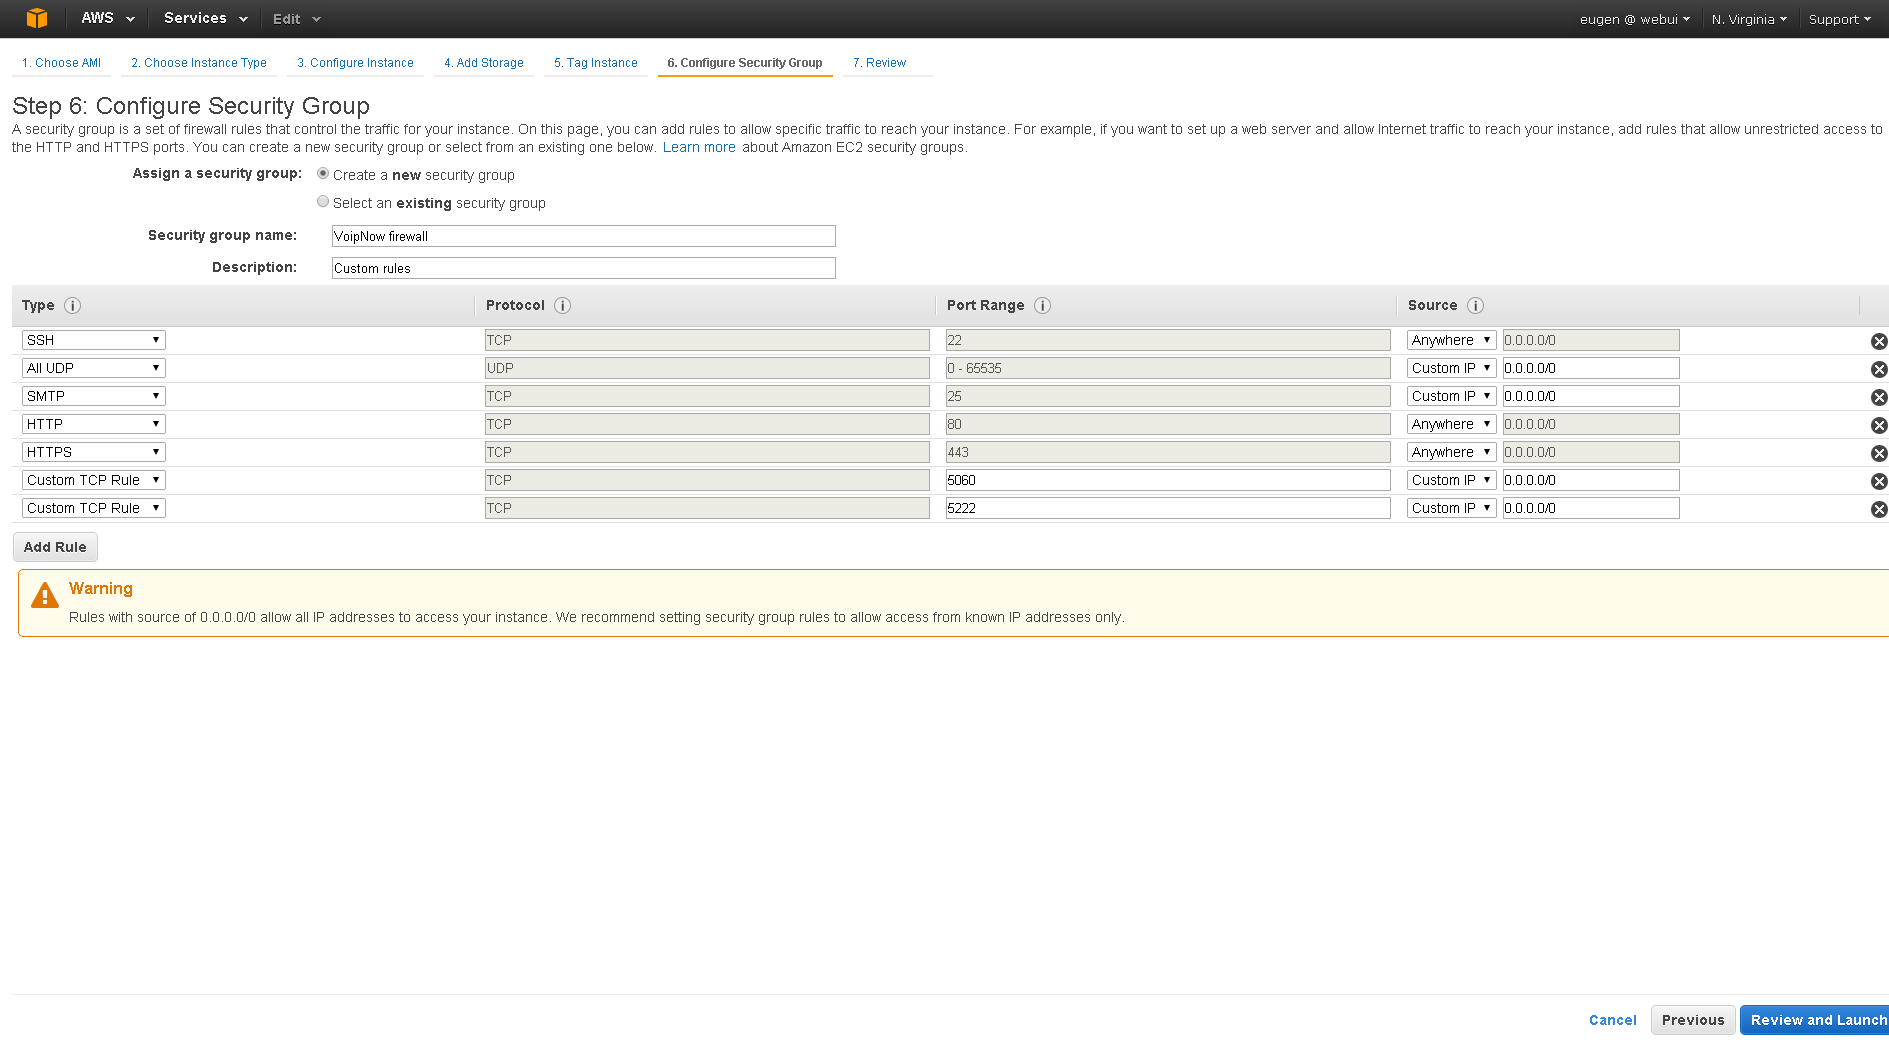
Click through the Tag Instance page and,, when you reach the Configure Security Group page.Ensure you , ensure that you have the same settings as in the image below and press Review and Launchdisplayed below.
If all everything is OK, click press Review and Launch.
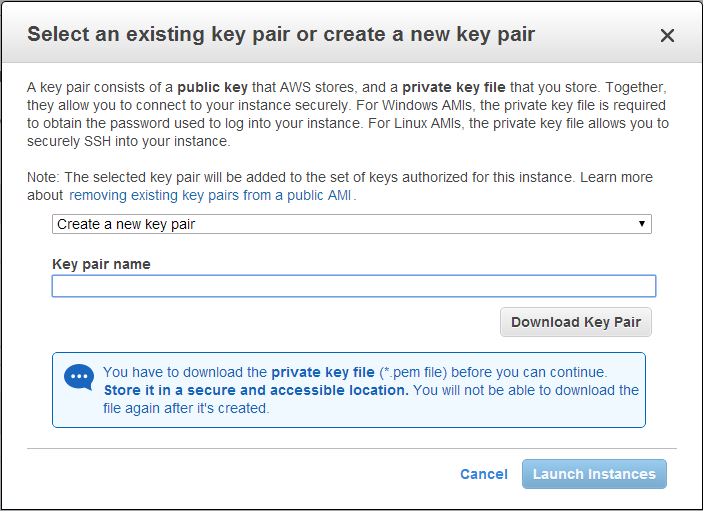
In the new page, select Proceed without Create a new key pair and define a Key pair name. Then download it and click on Launch Instances.
| Note |
|---|
You can Choose an existing key pair if you have already defined one. |
The instance should boot and, once it is running, you should be able to access it at:
https://<ServerHostname>
username
adminpasswordwelcome
...
| title | Change root password! |
|---|
.
We don't set any default passwords. So, to log in to the web interface, you must set a password via SSH.
To log in using SSH, run the following command:
| Shell |
|---|
ssh <serverip> -i <privatekey.pem> -l 4psa |
| Shell |
|---|
sudo su - |
| Shell |
|---|
/usr/local/voipnow/bin/chadminpass.sh |
https://<serverip>
Username : admin
Password : <what you set earlier>
The root acount password is: Mk$gohvoipnow3A
...
Except where otherwise noted, content in this space is licensed under a Creative Commons Attribution 4.0 International.

