...
- Click on the Add Login Accounts button and fill in the required fields: First name, Last name, Username, Password, and Email address.
 and Email address. Please note that the email address can contain characters from any official language script. Domain names that contain these special, so called non-ASCII, characters are called Internationalized Domain Names (IDNs). VoipNow supports IDNs.
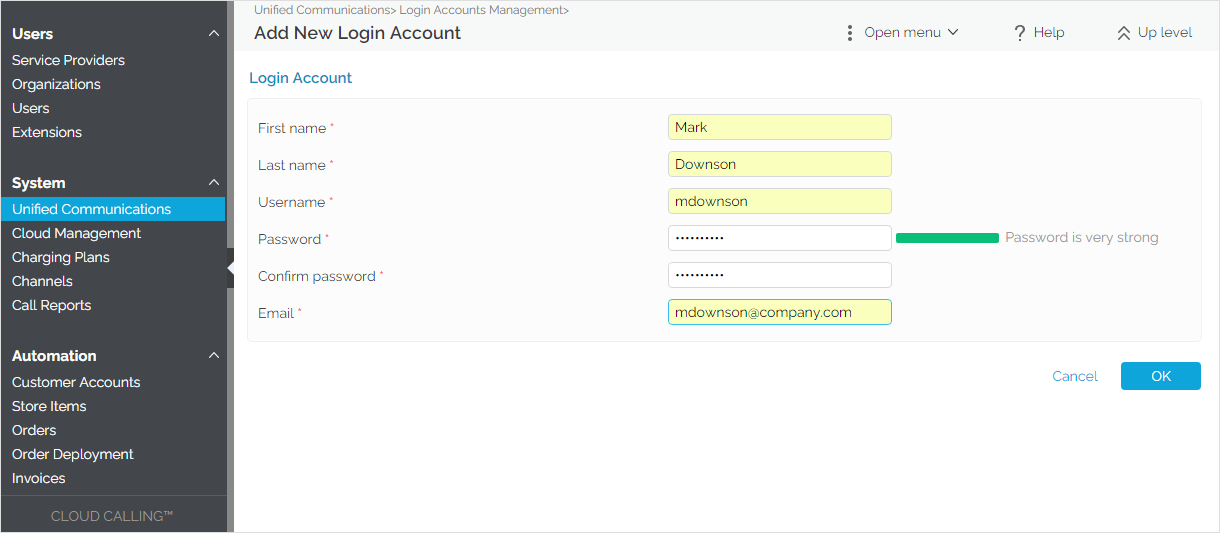
- Ensure you've confirmed the password and click OK when you're done.
Once you've created the login account, pass the account credentials (username and password) to the person for whom you created the account. They will need them to be able to log in to the VoipNow web interface.
| Note |
|---|
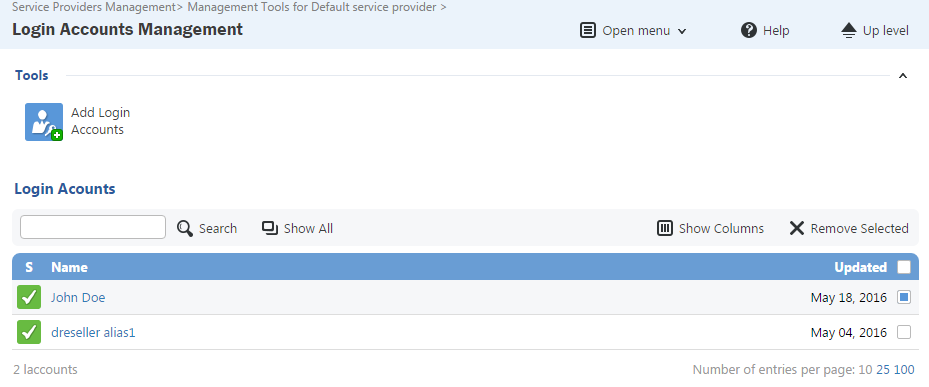
You can create as many login accounts as necessary. |
...
If you need to suspend management permissions for a "temporary" service provider, you can simply disable their login account.
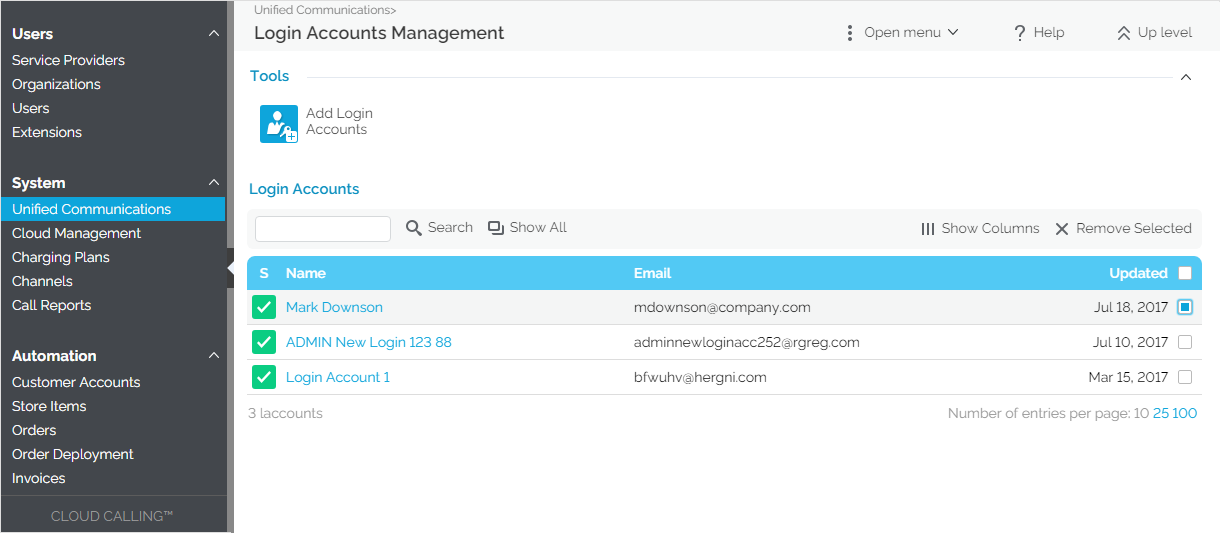
Go to the Login Accounts table and click the  icon under the S column. The icon shows the status of the account (enabled/disabled).
...
You can delete login accounts at any time. Just select the account from the Login Accounts table, then press the Remove Selected button on the top right.
Related
...
topics
Manage Login Accountslogin accounts
 Except where otherwise noted, content in this space is licensed under a Creative Commons Attribution 4.0 International.