This page contains instructions on how to install VoipNow using the VoipNow ISO Image.
Requirements
In order to install VoipNow using the ISO, it is necessary to use a bare metal server or a virtualization technology that emulates the bare metal environment.
This VoipNow ISO installation process is very similar to the installation of a CentOS/RedHat Linux distribution.
Installation steps
Download the VoipNow ISO Image from http://download1.4psa.com/voipnow/voipnow.iso and burn it on a DVD using your favorite burner software.
VoipNow ISO is based on CentOS 7.1 x86_64 Linux distribution.
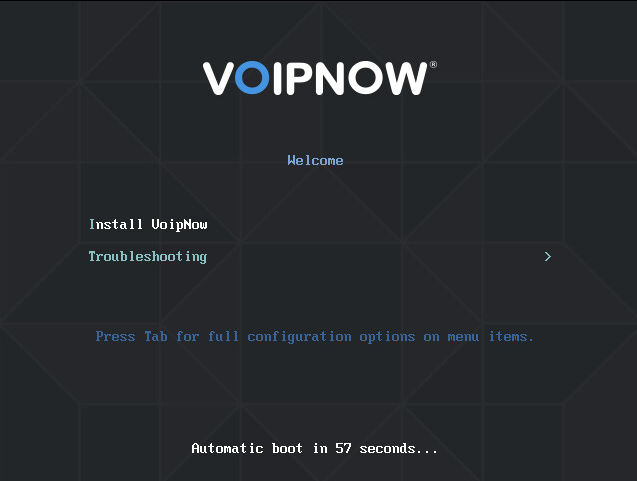
Boot the ISO
Boot from VoipNow DVD/ISO.
Choose language
Choose installation language and press Continue.

Configure network
Configure network settings before proceeding with the installation.
Click on the NETWORK & HOSTNAME:

Once in NETWORK & HOSTNAME, press Configure.

Click on IPv4 Settings and choose the method for setting the IP address. If you have an DHCP server inside your network, press Save.
Otherwise, choose the Manual method and enter IP Address, Netmask, Gateway, and DNS server.

Once you have completed the IPv4 Settings, enable the switch and confirm that the link appears as Connected.

Then press Done.
Partition the disk
Automatic partition is selected by default, but you still have to confirm the installation disk.
Press INSTALLATION DESTINATION to proceed with partitioning.

If you only have one disk dedicated for VoipNow, just press Save.
Make sure that the disk you select is empty, otherwise it can lead to data loss!

Begin installation
At this point, you may begin the installation and set the root password.
Optionally, you may choose Localization options. Press Begin Installation.

Once the installation has started, press ROOT PASSWORD to configure at least the root password for the shell.

Complete installation
Once installation is complete, press Reboot to start VoipNow. If the system is set to always boot from CDROM drive, remove the DVD.

Login to Web Management Interface
Installation is now complete. Up next, configure the system using the web management interface.
To do so, open https://<InstallationIP> in your browser:

and log in to the interface using the following details:
Username: admin
Password: welcome
It is vital for the system security to change the administrator password once you login!
 Except where otherwise noted, content in this space is licensed under a Creative Commons Attribution 4.0 International.